DIY curtain repair
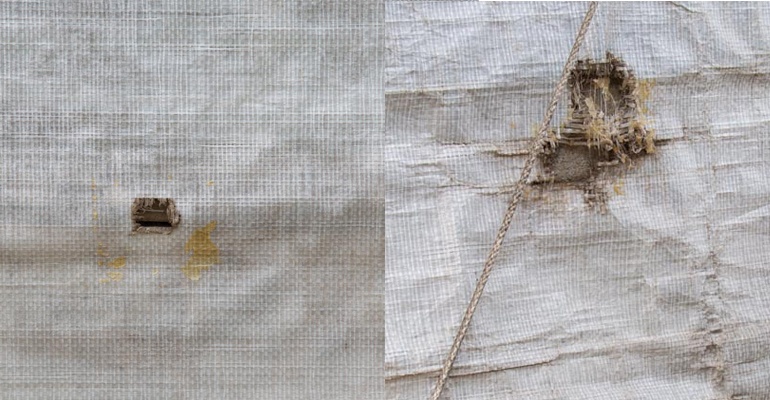
Having holes and tears in a ventilation curtain doesn’t necessarily mean it needs replacing. We walk you through the simple repair steps using both tape and patches with glue. A step-by-step video tutorial is also available on our YouTube channel. Click here to watch.
1. Quickly repair small holes with curtain tape. For larger holes and rips, use the cement and patch method.
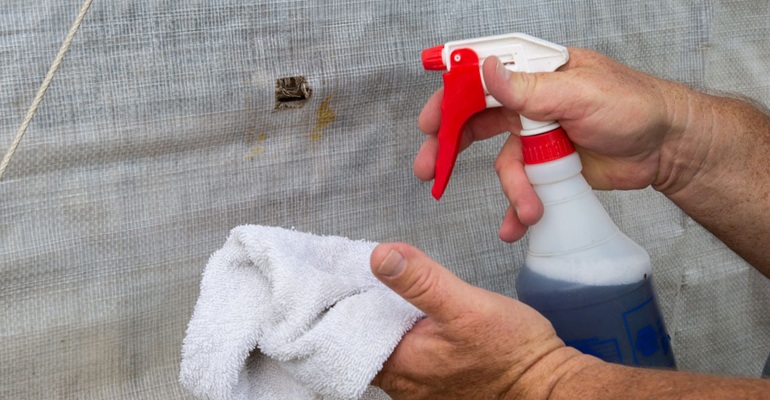
2. No matter which method is selected, start by thoroughly cleaning the repair area on both sides of the curtain with mild soapy water. Wipe the area dry with a clean towel.
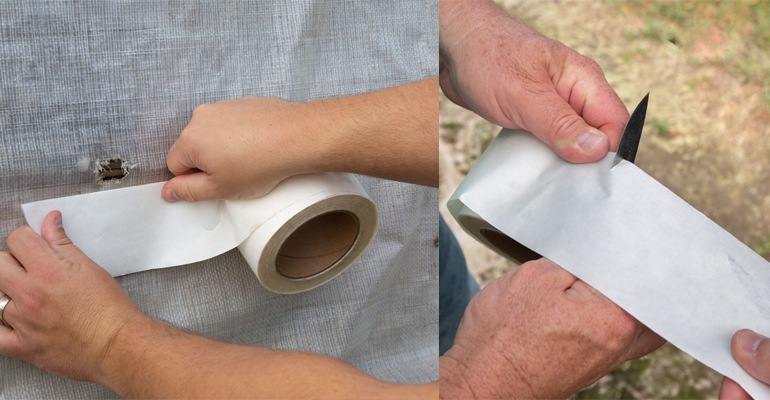
3. When using tape, choose the product to match the curtain type. There are specific tapes, in clear, white or black, designed for repairing polylite or vinyl curtains.

4. Measure and cut two identical pieces for each side of the repair.
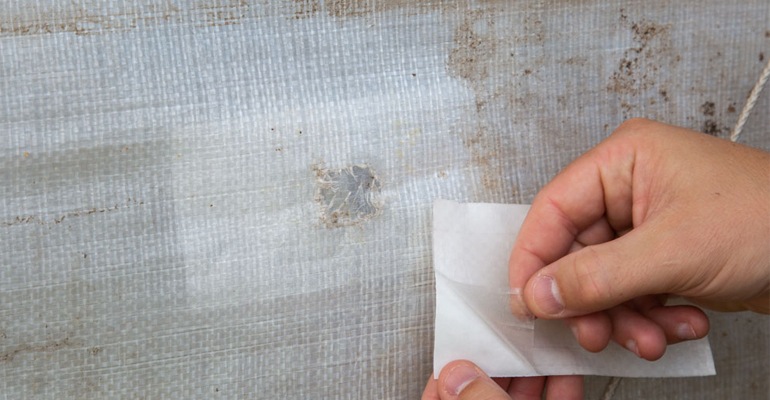
5. Remove the paper backing and press the tape smoothly to eliminate any bubbles or wrinkles. Pay particular attention to corners making sure they are secure.
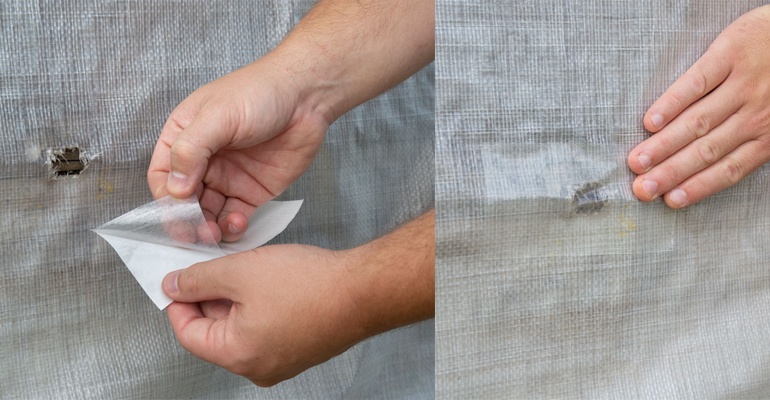
6. Repeat on the opposite side.
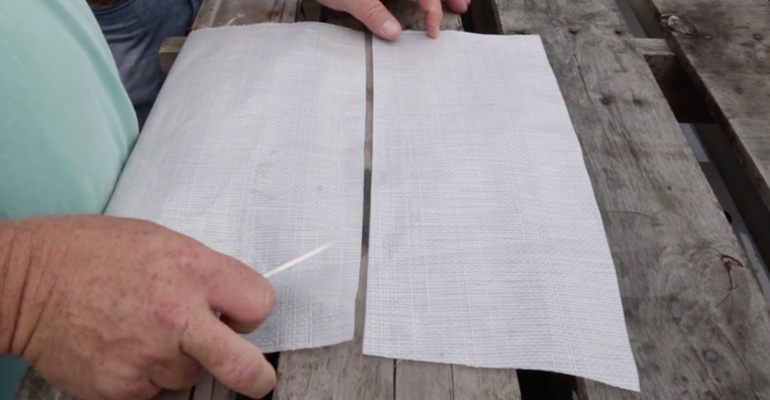
7. To use the patch method, cut two identical-sized patches from curtains remnants matching the existing curtain.
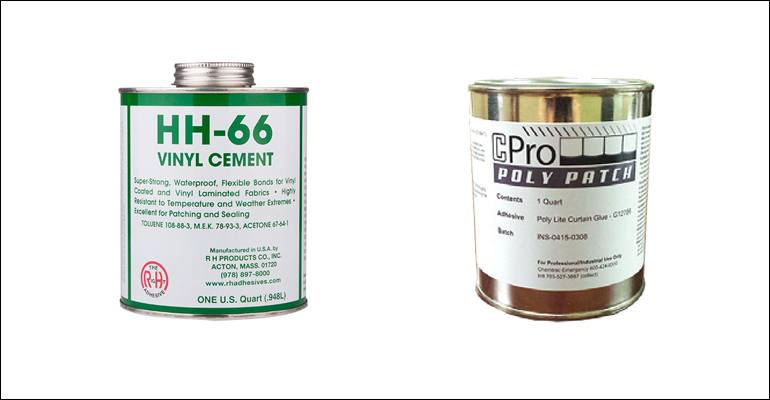
8. Select glue designed to adhere to the existing polylite or vinyl curtain.
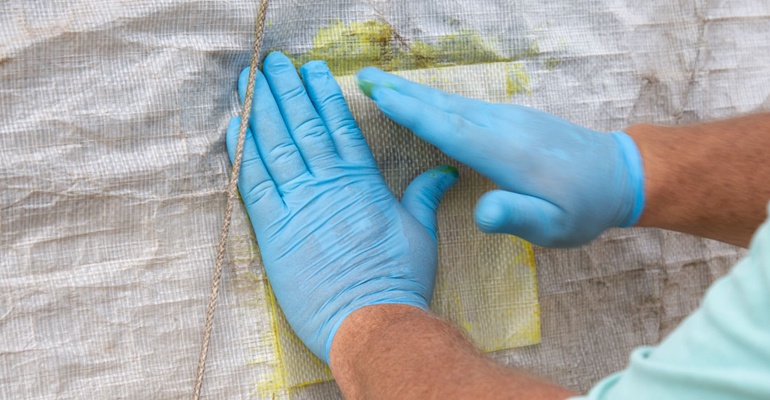
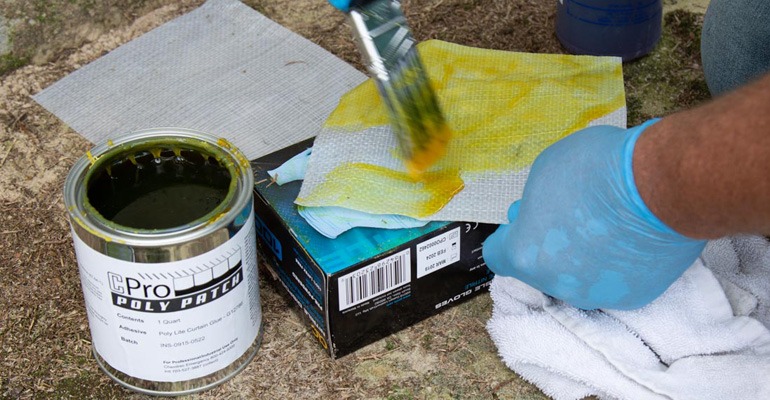
9. Using a brush, apply glue around the repair area. Wear protective gloves when applying glue.

10. Next, apply glue to precut patch material. Spread it evenly across the entire patch for good adhesion.
11. Apply the patch to the repair area, smoothly pressing it from the center to the edges. Repeat on the opposite side.