DIY anchor bearing replacement
A squeaking or wobbling anchor bearing probably means it’s time for a replacement. Failing to replace a worn bearing could mean premature wear on other parts of the feed system. Choose the right replacement bearing by using this cross-reference chart. Click DIY-Anchor Bearing to watch a step-by-step tutorial on our YouTube channel.
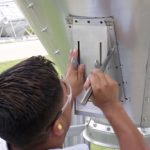
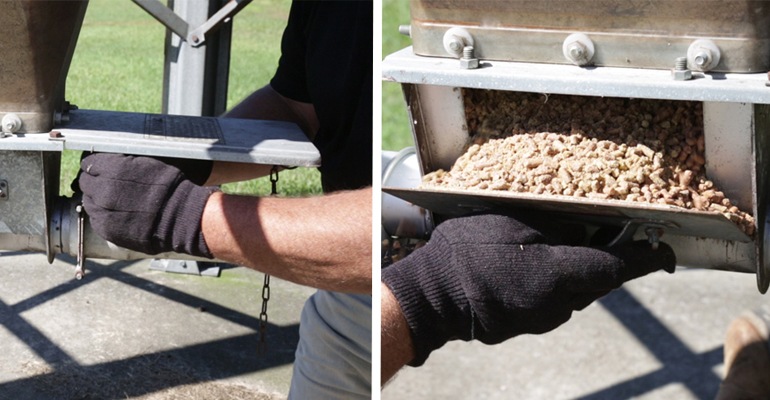
1. Begin by shutting off the power to the feed system. Next, close the slide on the unloader. Then remove the side access plate and empty any feed inside the unloader.
2. Loosen the tube clamp on the unloader stem.
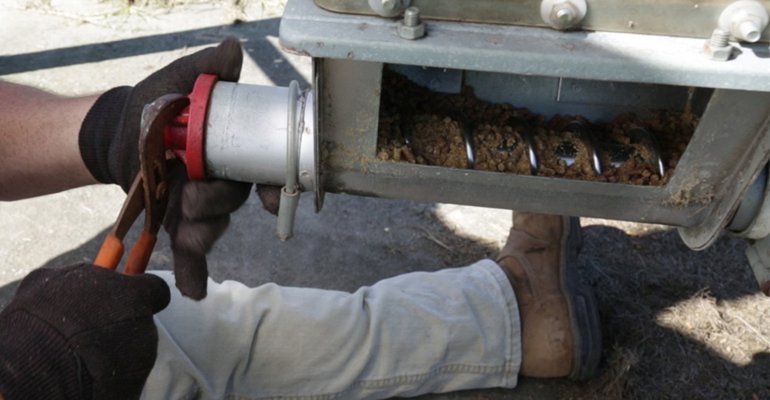
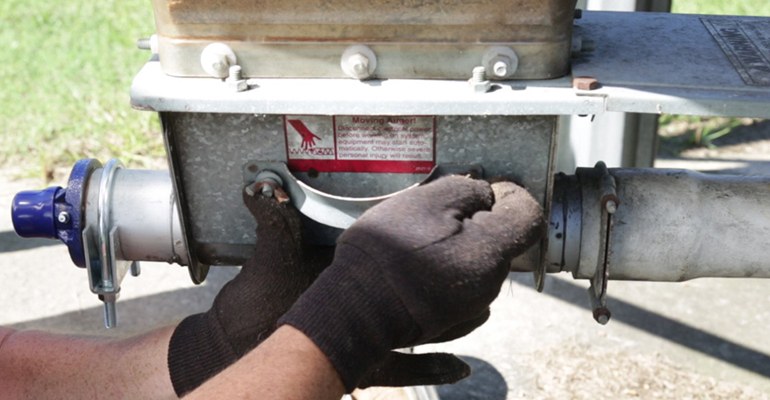
3. Using a pair of channel locks, break the anchor bearing free and pull it out about 18 inches from the boot.
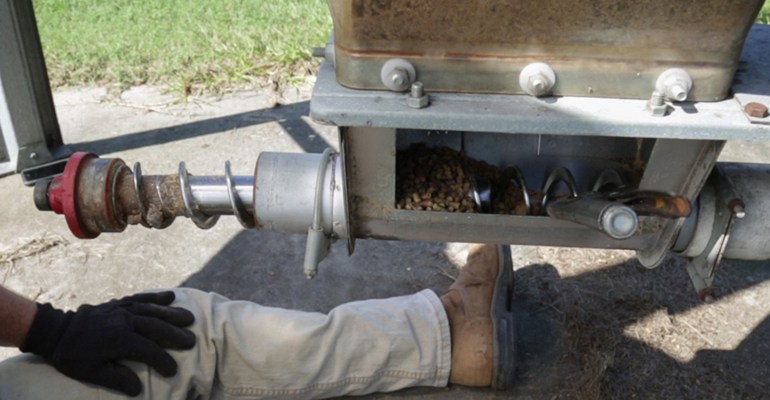
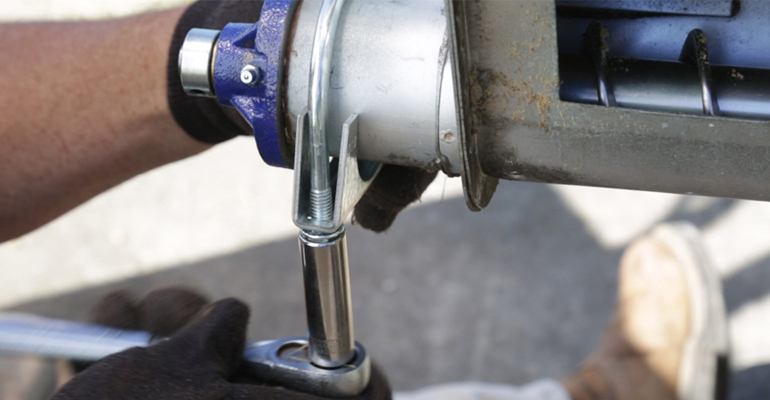
4. Lock the auger safety in place by attaching a locking plier to the flighting inside the boot.Warning: Failure to lock the auger in place may result in severe injury to the operator.
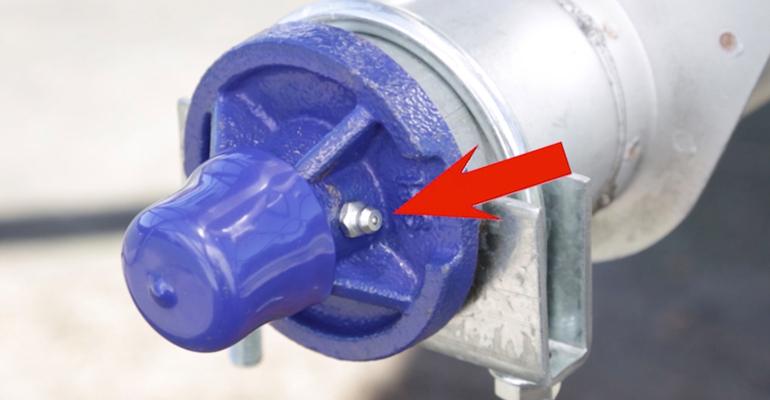
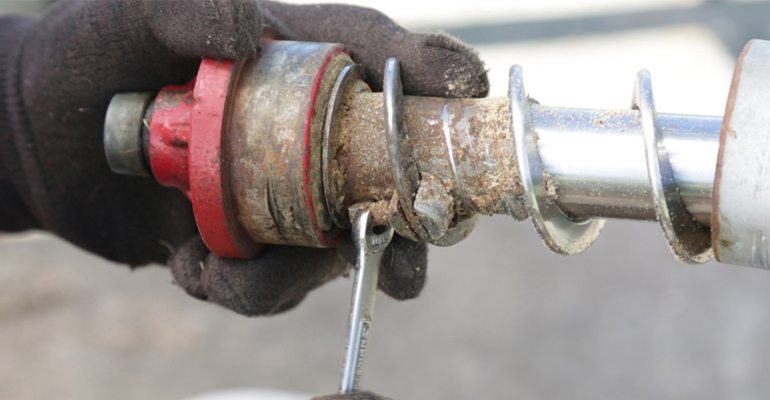
5. Loosen the set screw on the anchor bearing shaft.
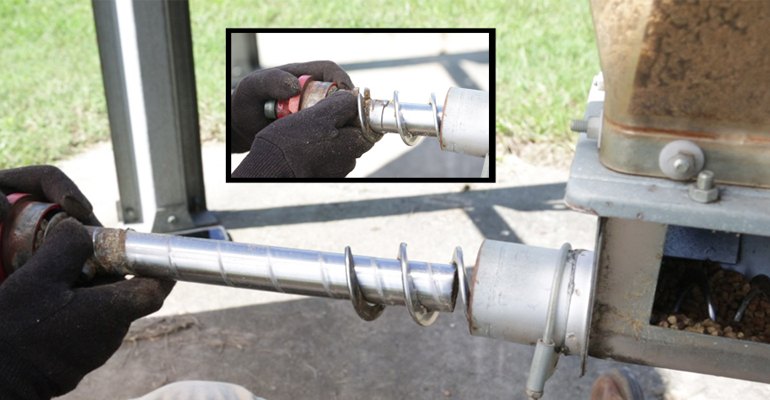
6. Rotate the old anchor bearing out of the flighting and slide it off. Remove the old tube clamp and replace it with a new one.
7. Insert the new bearing. Lubricate the outside of the bearing flange with the provided anti-seize compound.
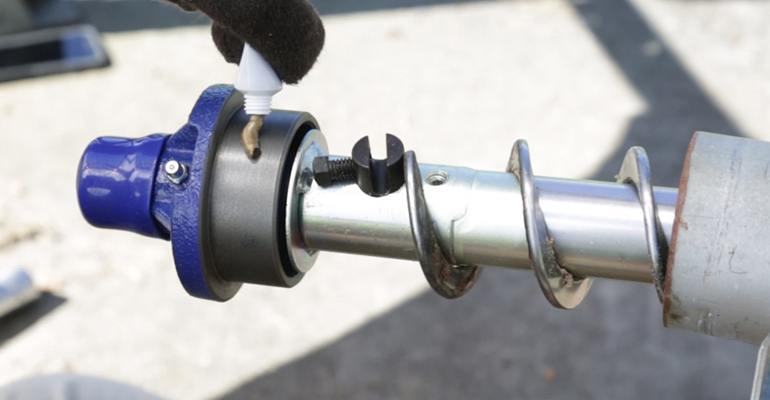
8. Rotate the anchor bearing to insert the flighting into the locking pin and tighten the set screw.
9. Remove the locking pliers and allow the auger to slide back into the unloader.
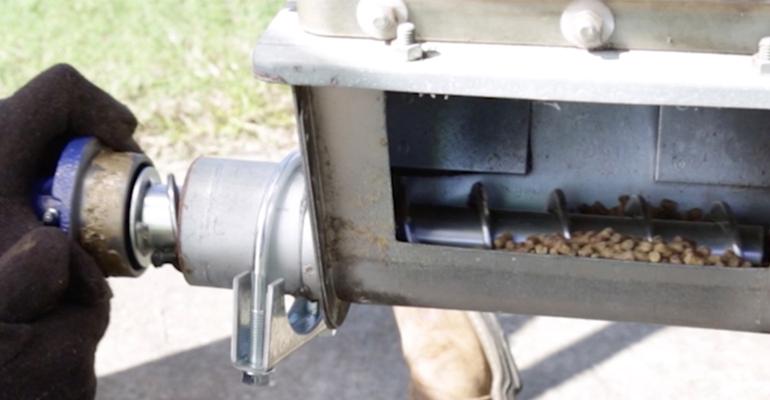
10. Move the tube clamp into place and tighten.
11. Replace the unloader access door and open the feed slide.
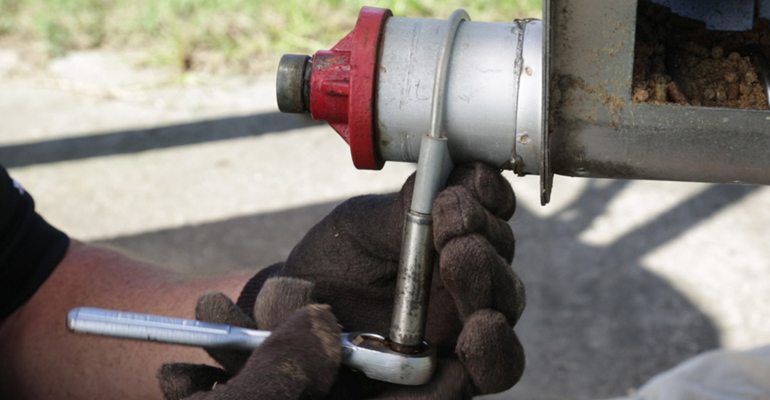
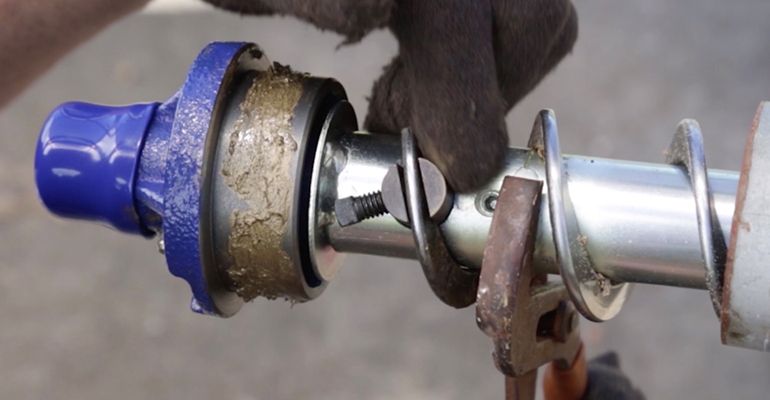
12. To extend the new bearing’s life, apply automotive or industrial type grease between each group turn.