DIY: Feed motor replacement
Follow this step-by-step tutorial to replace the motors on existing feed systems. A video tutorial is also available on our YouTube channel by clicking here.
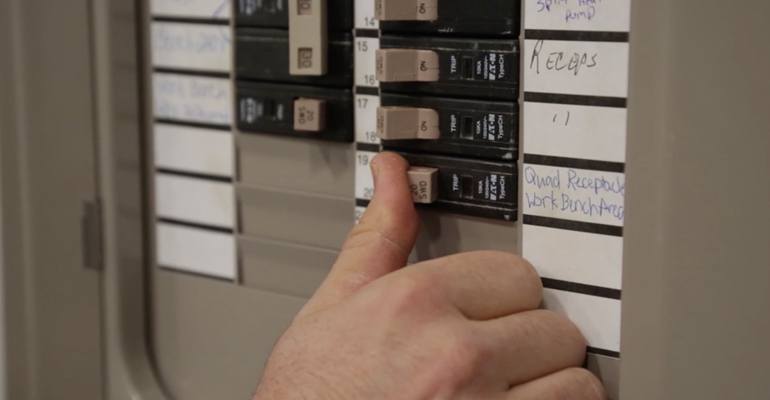
1. Begin by turning off the electrical power to the feed system and motor.
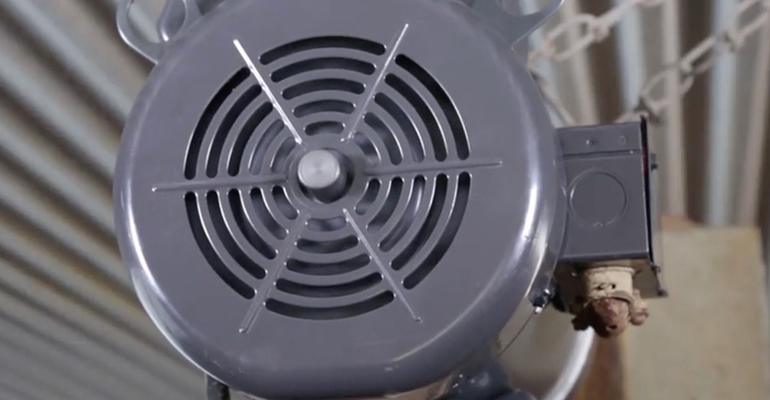
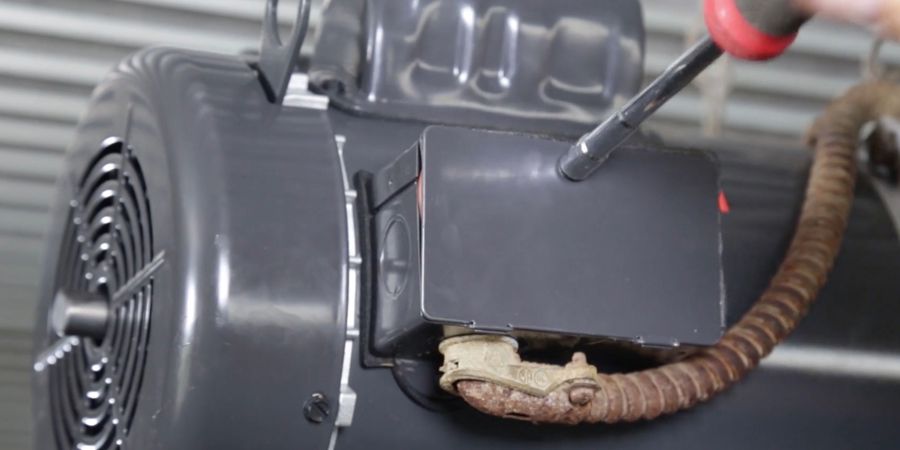
2. Prep the new motor before installation by removing the motor’s electrical box’s cover and punching out the conduit knockout.
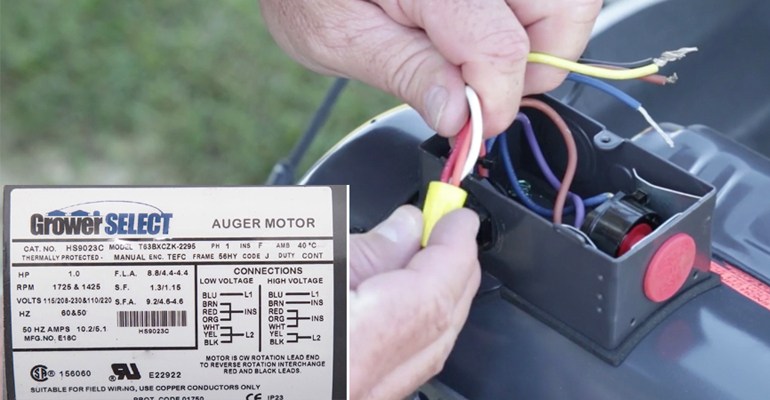
3. Refer to the wiring diagram on the motor’s side to determine the correct wiring connections.
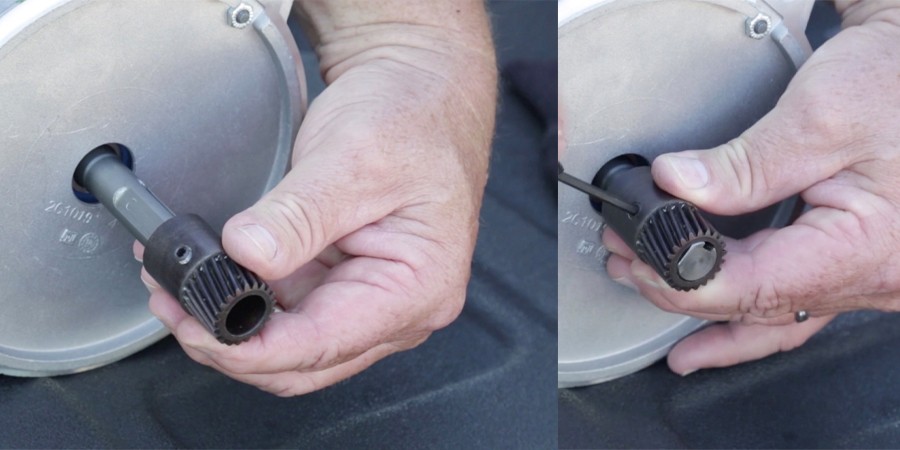
4. Install a new pinion gear by aligning the setscrew on the flat section of the motor shaft and sliding it on until the pinion is flush. Using an Allen wrench, securely tighten the setscrew. Refer to this chart for help choosing the right pinion gear.
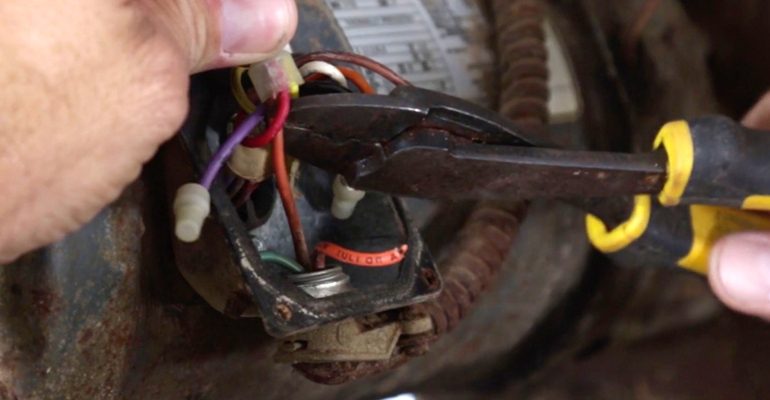
5. Remove the electrical cover on the old motor and cut the hot, neutral and ground wires. Remove the watertight connector to free the wires from the motor.
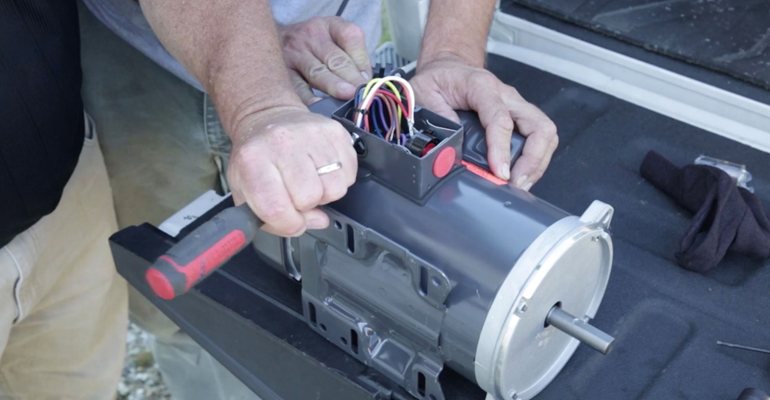
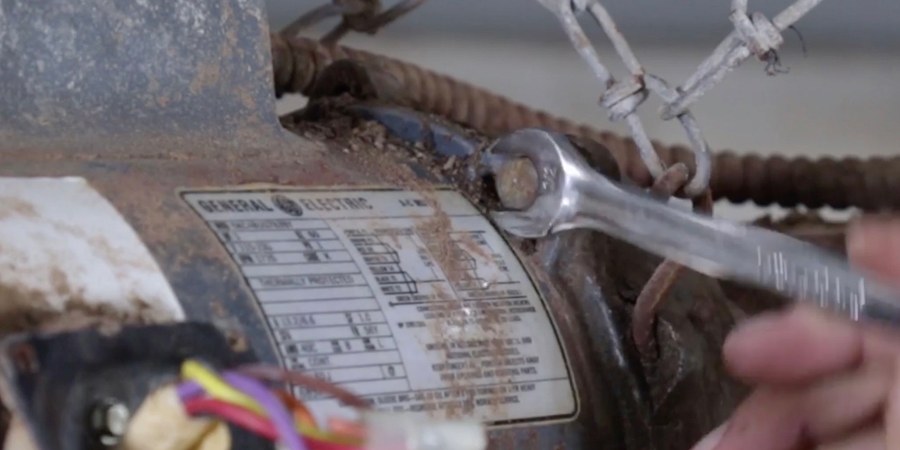
6. Loosen the bolts connecting the old motor to the gear head.
7. Install the new motor to the gear head and retighten bolts.

8. Reconnect the wiring conduit to the new motor’s electrical box. Refer to the wiring diagram on the motor for the correct electrical connections.
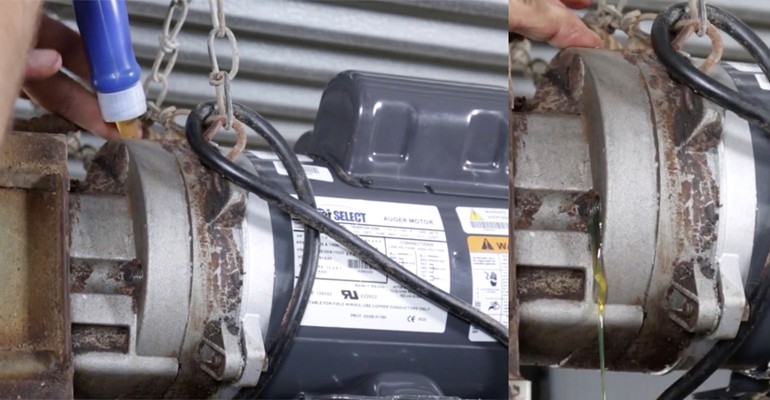
9. Next, the oil in the gearbox needs to be refilled. Remove the bottom and top oil plugs in the gearbox. Pour gear head oil (HS450) in the top hole until it flows out the bottom hole. Quickly replace the bottom plug and wipe away any excess oil. Now replace the top plug and securely tighten both.
10. Turn the electrical power on and the motor installation is complete. For help choosing the correct replacement motor, consult this chart on our website.